Datasets
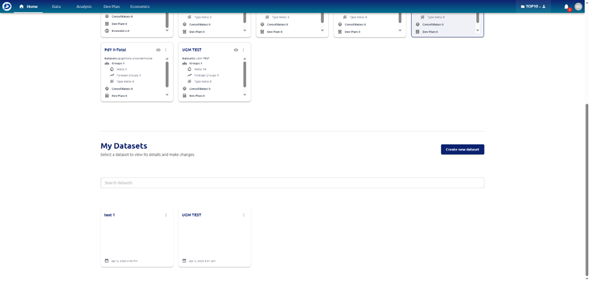
Datasets
In this subsection the datasets available will be displayed. There is a button on the top right to create a new dataset and a search bar.
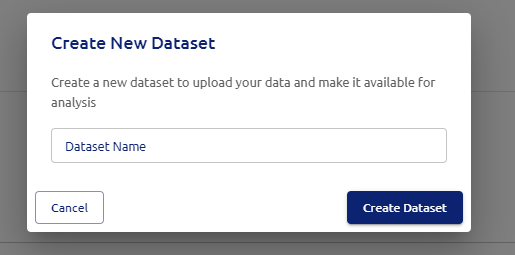
New Dataset
This shortcut allows the user to create a new dataset and add it to the company’s database.
Load data
Once the dataset is created the user can click on it and the load workflow will open up. First step is to select the data type, there are two subsections.
1- Static Data: Well static data: It comprises of the following
- Deviation Survey data: It comprises of the deviation surveys of the wells.
- Geospatial data: User can load any shapefile or geojason file to their dataset and it will be available in all the maps to activate as a layer.
2- Dynamic Data: Dynamic data can only be loaded after loading static data in previous step.
- Historical production: Here the user can load oil, gas and water production.
- Pressure data: Users can load WHP or BHP for the wells in the database.

Add data to new dataset
This will be the only available option when the user first creates a dataset.
Append to dataset
This option will be available once the user has already loaded data in the previous step. Any data loaded in this step will be appended to existing data.
Overwrite dataset
This option will be available once the user has already loaded data. Any data loaded in this step will overwrite previous existing data.
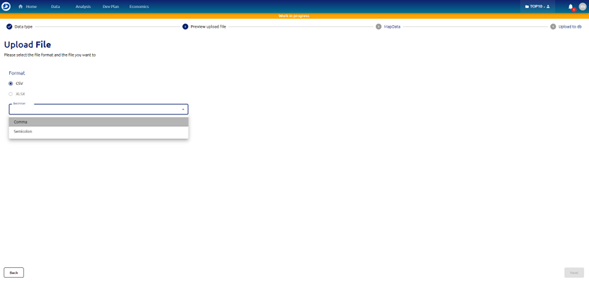
Upload File
In this step the user can select which type of file he wants to upload, csv or xlsx is available at the moment. User must select the delimiter for the csv file.
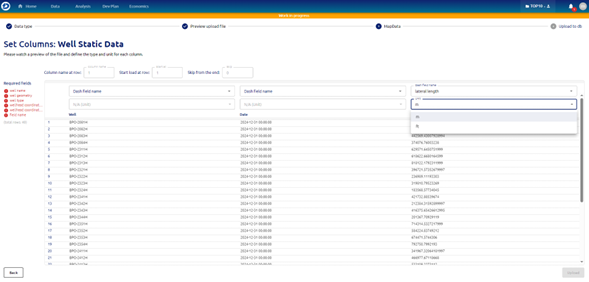
Set Columns: Well Static Data
User must map the minimum required fields to upload.
Required fields:
- Well name
- Well geometry
- Well type
- Wellhead coordinates
- Field name

For each column user can map the variable and select the unit
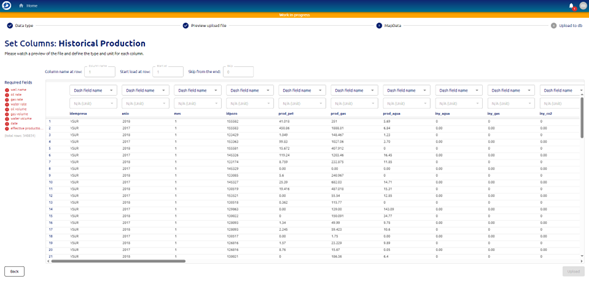
Set Columns: Historical Production Data
Users must map the minimum required fields to upload. To load production data user must load Well static data first.
Required fields:
- Well name
- Oil rate/volume
- Gas rate/volume
- Water rate/volume
- Date
- Effective production time (cumulative)
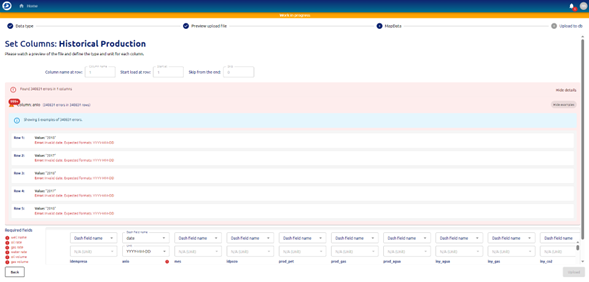
Automatic Error Detection
When the user maps columns to the data Dash will automatically detect if the data mapped is correct or if there are any errors in values or formats.
It will display like in the following image:
Once a required column is mapped correctly it will be displayed on the left in green with a checkmark, and the column itself will be painted green too.
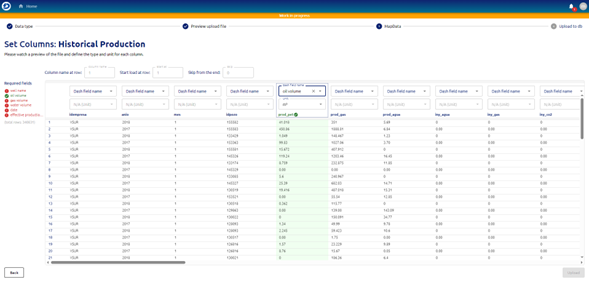
The upload button will be available to press once all required fields have been correctly mapped. That is the end of the Data load process, depending on the amount of data the ETL will take some time to process it and let the user have it available to work on.
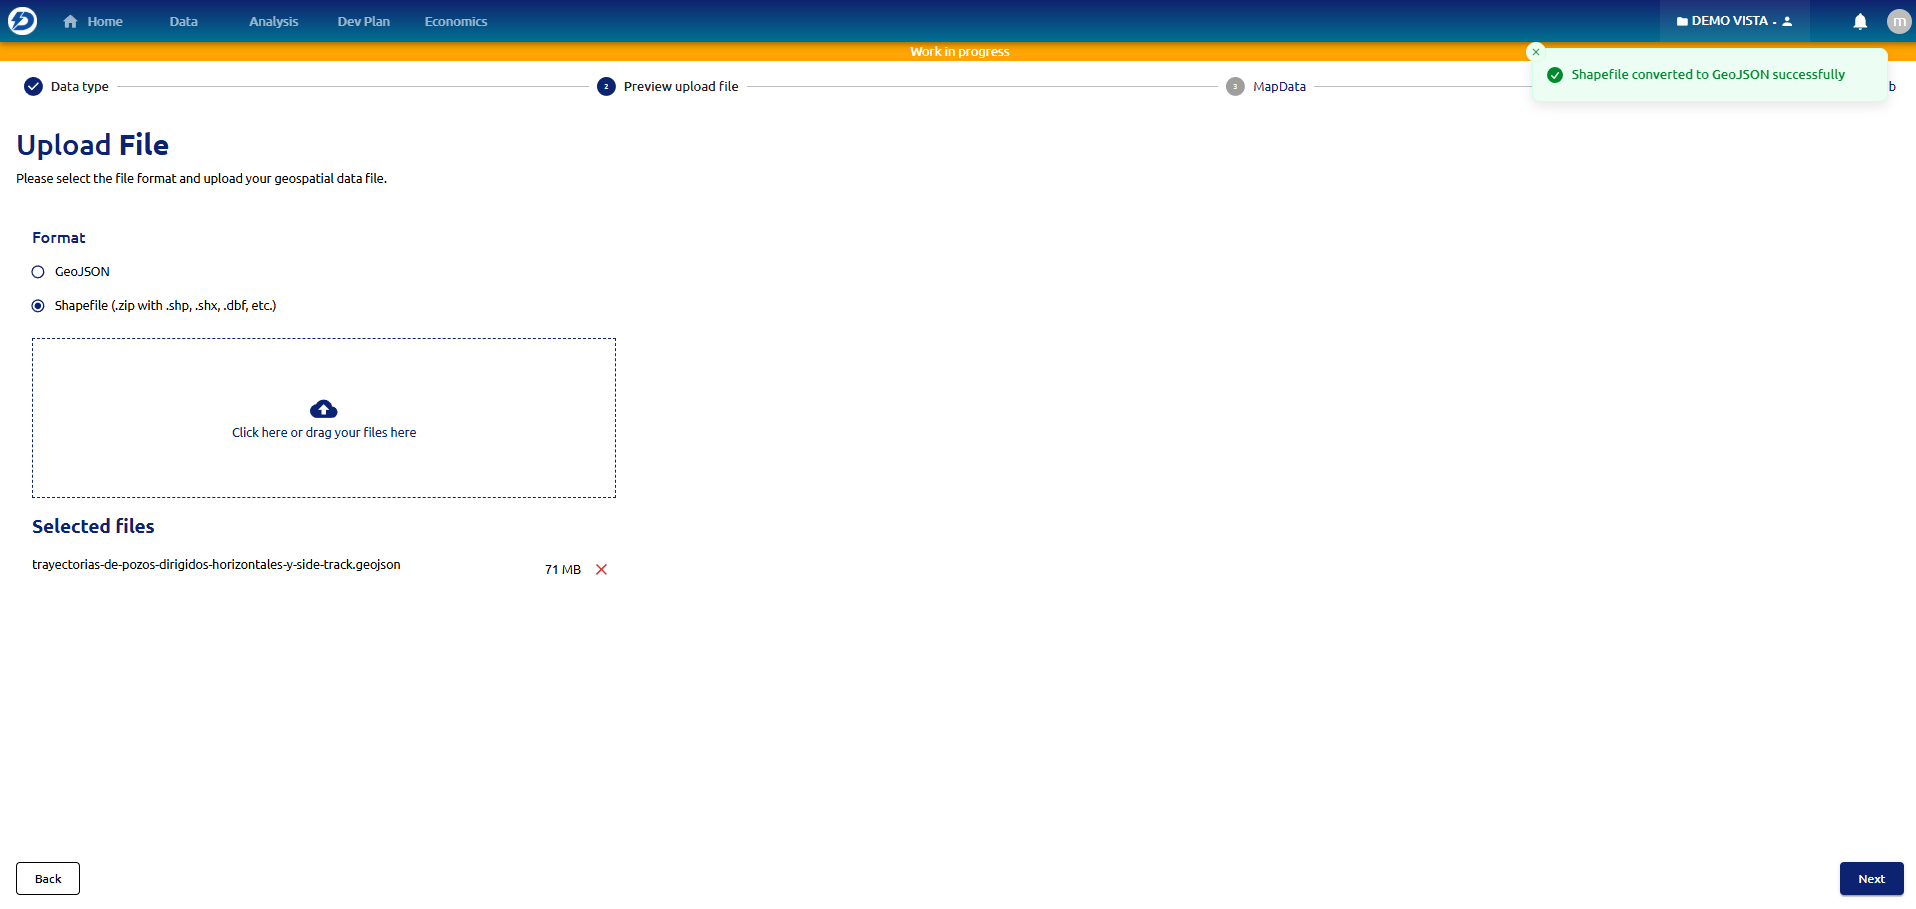
Upload Geospatial Data
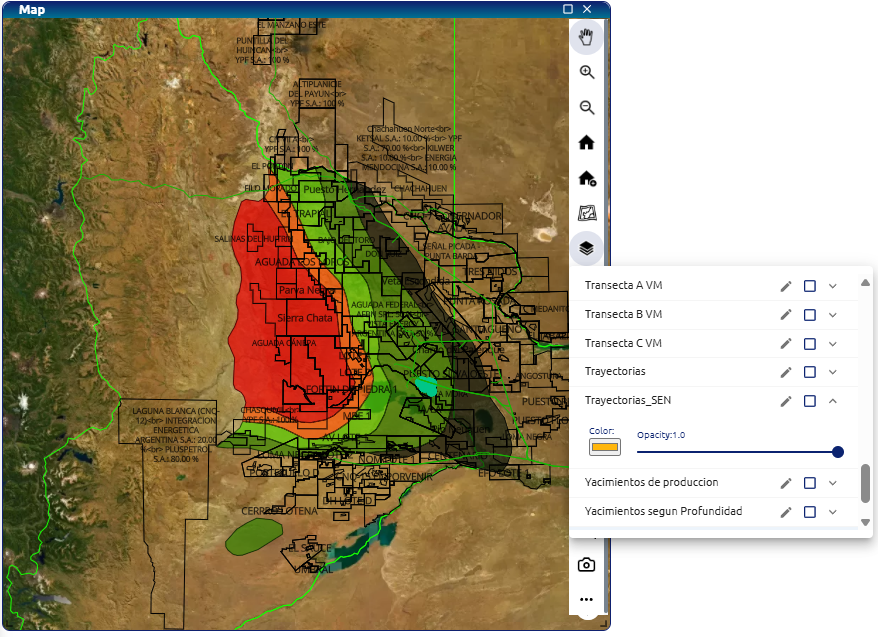
User can load any type of shapefiles or geojason files to their own datasets and display those custom layers in the maps available in each module of the application.
For that the user must select a dataset in the “Home” section and then follow these steps:
Where to load shapefile:

How to load it:
Preview the shapefile:
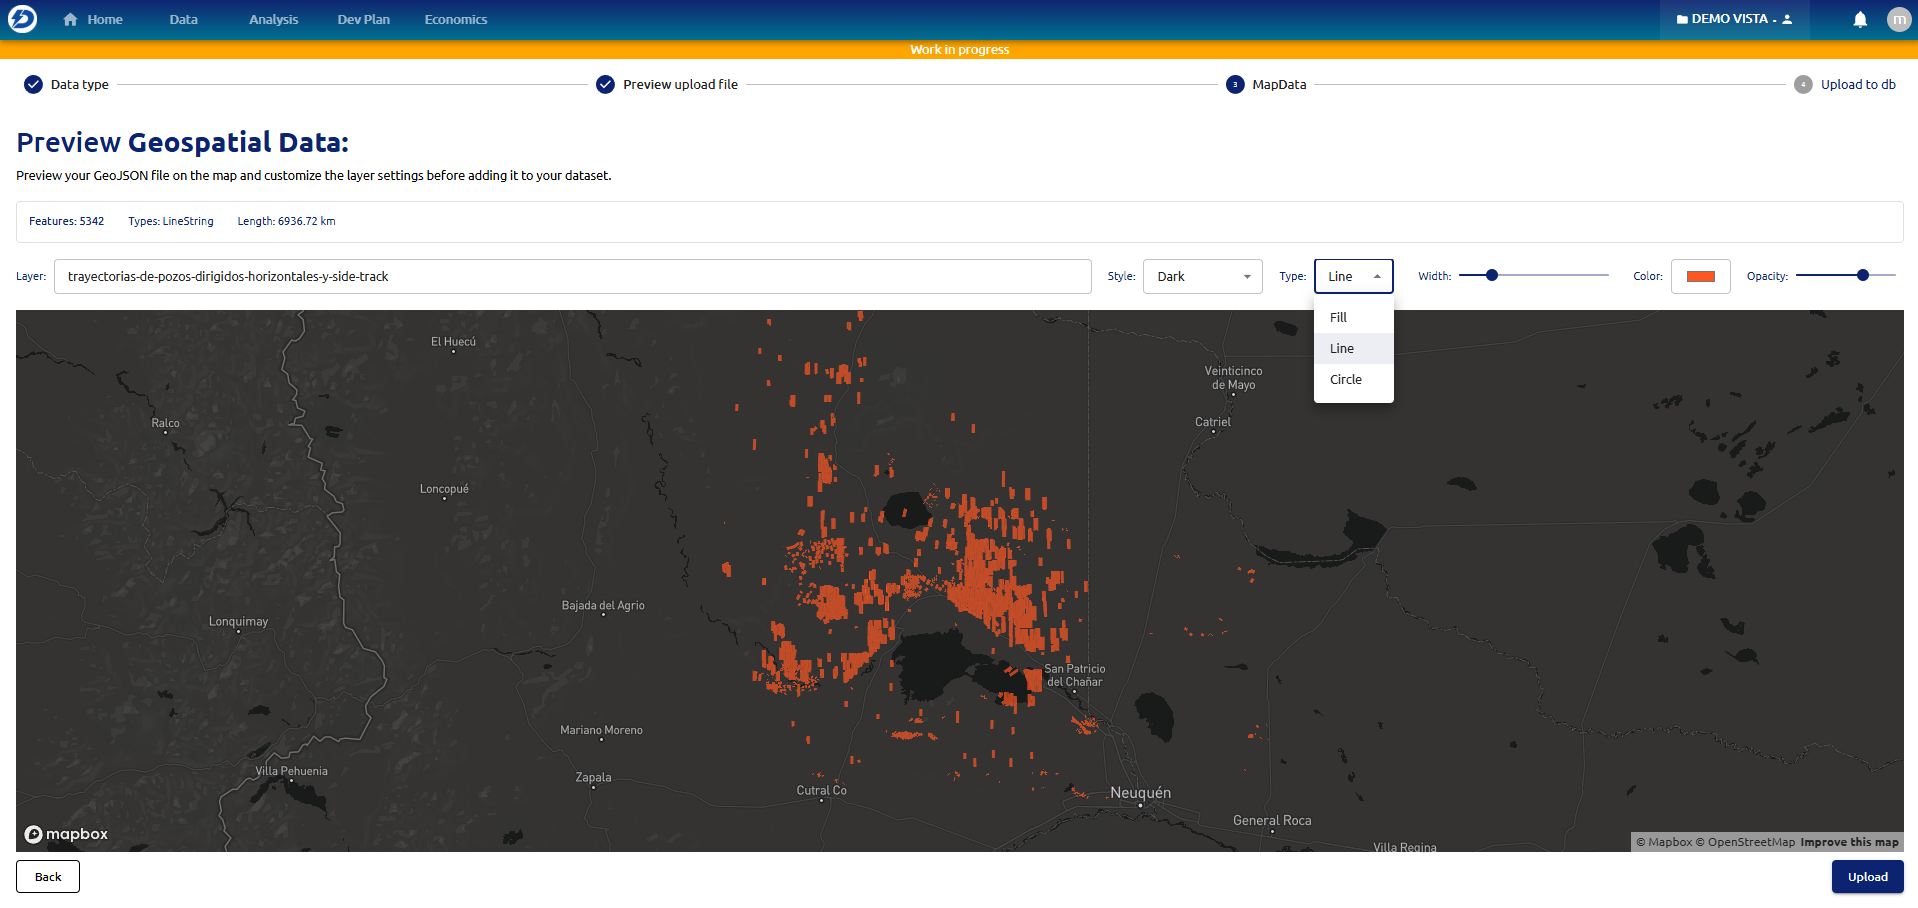
Use the shapefile in the map: